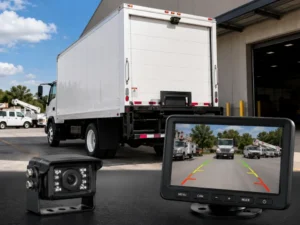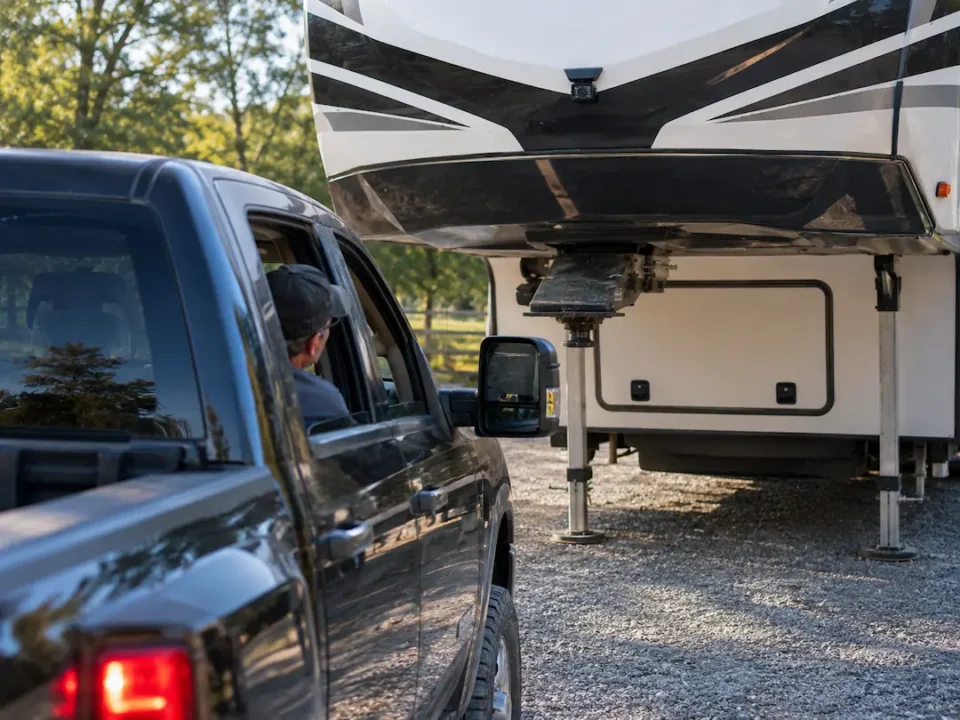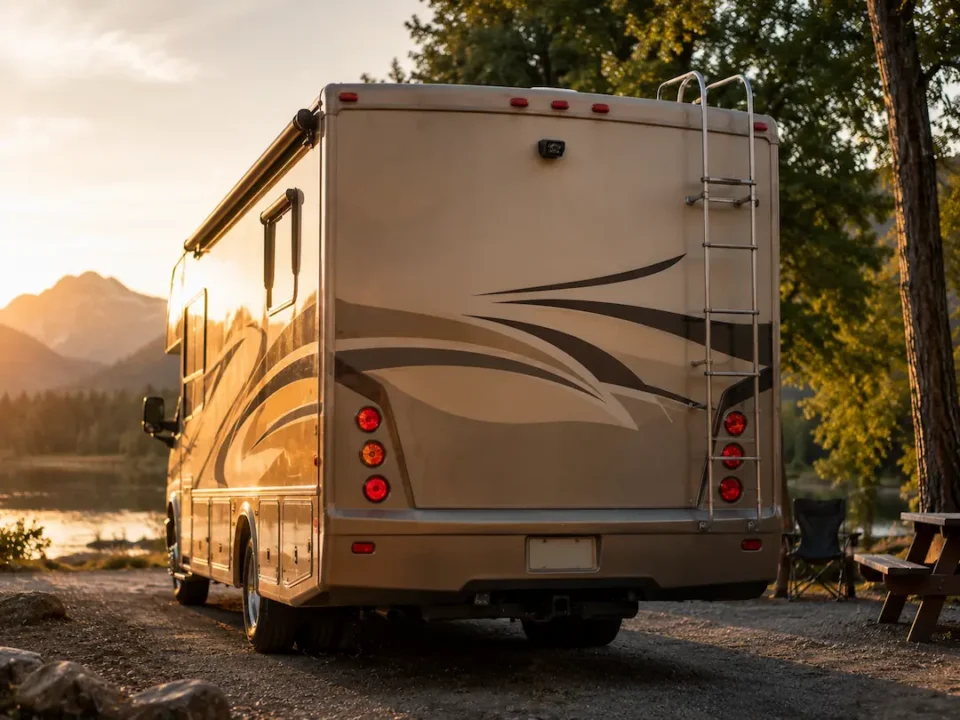
Many Class A motorhome owners underestimate the blind spots behind their vehicles, where a child or object can easily go unseen. Installing a reliable backup camera is not just about convenience, it’s a safety necessity given the vehicle’s size and limited rear visibility. You need a system that delivers clear, real-time imaging in all lighting conditions, especially during night or rain. Choosing the right one involves more than just picture quality-it starts with understanding your specific driving and parking challenges.
Key Takeaways:
- A rearview backup camera with a wide viewing angle, ideally between 120 and 160 degrees, ensures coverage of the motorhome’s extended blind spots, especially critical for a Class A vehicle that can exceed 30 feet in length.
- Wired systems typically offer more reliable signal transmission and consistent image quality compared to wireless models, minimizing interference risks from other onboard electronics or external sources.
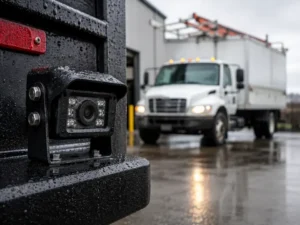
- Cameras with night vision and weather-resistant housings, rated at least IP66, maintain functionality in low light and heavy rain, directly impacting safety during early morning departures or unexpected storms.
Evaluating Your Motorhome’s Visibility Needs
Understanding your motorhome’s unique sightline limitations ensures the camera placement addresses real-world driving challenges. Class A motorhomes often conceal large zones directly behind and along the sides, especially near the rear corners. A clear view of the ground immediately behind the bumper is important when connecting to tow bars or leveling on uneven terrain. Recognizing these spatial constraints helps determine how many cameras and what lens types you’ll need for full situational awareness.
Identifying Class A Blind Spots and Dimensions
Class A motorhomes can extend over 40 feet with heights exceeding 13 feet, creating substantial rear and side blind spots. The elevated driver’s seat improves forward vision but worsens visibility directly behind the vehicle. Mirrors rarely cover the full width, especially with added accessories like bike racks or storage trays. Recognizing the physical dimensions and common obstruction points helps pinpoint where camera coverage is non-negotiable.
Assessing Wired vs. Wireless Connectivity Factors
Wired systems deliver consistent signal reliability and are less prone to interference from nearby electronics or weather. Wireless options simplify installation but may suffer from latency or signal drops, particularly in areas with high radio frequency noise. Power source access, vehicle layout, and exposure to vibration influence which setup performs better long-term. Recognizing these trade-offs guides a choice aligned with your motorhome’s electrical architecture and usage patterns.
- Wired connections offer stable video transmission with minimal lag
- Wireless setups reduce cable routing but risk interference from other devices
- Longer motorhomes often benefit from wired systems due to distance limitations in wireless signals
- Weather sealing and connector durability are critical for both types, especially at junction points
Signal integrity over distance is a primary concern in larger motorhomes, where wireless systems may struggle to maintain a clear feed from the rear to the dashboard monitor. Electromagnetic interference from inverters, generators, or solar charge controllers can disrupt wireless transmission, leading to frozen or pixelated images at critical moments. Wired systems, while requiring more labor during setup, provide a direct, shielded pathway that resists these disruptions. Recognizing that a momentary video loss during reversing could lead to collision underscores the importance of choosing connectivity that prioritizes consistent performance over convenience.
Key Technical Specifications to Consider
Understanding the core technical specs ensures your Class A motorhome backup camera delivers reliable performance in real-world conditions. Image clarity, viewing angle, and resilience to weather all influence safety during reversing maneuvers. Choose systems designed specifically for large vehicle dimensions and extended outdoor exposure.
Field of View and Image Resolution Standards
A wide field of view, ideally between 120 and 170 degrees, minimizes blind spots along the motorhome’s sides. Higher image resolution, such as 720p or better, provides clear detail for detecting obstacles like curbs or small objects behind the vehicle. Cameras with narrow angles or low resolution may miss critical hazards, especially on uneven terrain.
Low-Light Performance and Night Vision Reliability
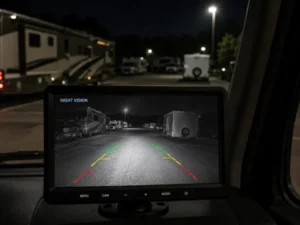
Effective night vision allows safe reversing after dark, particularly in unlit campgrounds or roadside stops. Infrared (IR) LEDs enable visibility in near-total darkness, but their range and uniformity vary by model. Poor low-light performance can create false confidence, increasing collision risk when ambient light is minimal.
Some cameras use advanced CMOS sensors paired with multiple IR emitters to maintain image clarity in darkness, while others produce grainy or overexposed footage. Test footage samples in dim conditions before purchasing, as manufacturer claims don’t always reflect real-world output. A camera that washes out nearby objects or fails beyond ten feet is unsafe for nighttime use.
Selecting the Optimal Monitor for Your Dashboard
Choosing the right monitor ensures you maintain clear visibility without obstructing your view of the road. A well-positioned screen allows you to glance quickly and interpret camera feeds accurately, especially during tight maneuvers. Prioritize monitors with anti-glare finishes and wide viewing angles so image clarity remains consistent under direct sunlight. Mounting flexibility also plays a key role in achieving an ergonomic setup.
Screen Size and Mounting Placement Options
A 7 to 9-inch screen typically offers the best balance between visibility and dashboard space on a Class A motorhome. Mount the monitor high on the dash, near eye level, to minimize gaze deviation while driving. Magnetic or suction mounts provide temporary flexibility, but a fixed bracket ensures stable, vibration-resistant performance over long distances and rough terrain.
Multi-Camera Display and Switching Features
Your monitor should support seamless input switching when using multiple cameras, such as rear, side, and front views. Look for models with manual toggle buttons or automatic triggering based on turn signals or gear shifts. Split-screen capability lets you view two feeds simultaneously, improving spatial awareness during complex maneuvers like docking or highway lane changes.
Some advanced monitors offer picture-in-picture functionality, allowing the rear view to remain visible while overlaying a side camera feed when turning. Systems integrated with your motorhome’s instrument panel can activate specific cameras based on driving conditions, such as engaging the rearview when reversing or switching to wide-angle mode at low speeds. This level of automation enhances safety by reducing cognitive load during high-pressure situations.
Factors for Ensuring Long-Term Durability
Long-term reliability in a Class A motorhome backup camera depends on build quality, environmental resistance, and mechanical resilience. Look for housings made from marine-grade aluminum or UV-resistant polycarbonate to prevent corrosion and cracking. Sealed lens gaskets, wide operating temperature ranges, and shock-absorbing mounts contribute to sustained performance. Recognizing that road conditions and weather extremes are inevitable, prioritize hardware engineered for continuous, real-world stress.
Weatherproof- ing and IP Ratings for External Hardware
Exterior cameras face rain, snow, dust, and road grime, making IP69K or IP67 ratings necessary for reliable operation. These standards confirm protection against high-pressure water jets and full dust ingress. A sealed housing with conformal-coated circuitry prevents internal moisture damage. Recognizing that a compromised seal can lead to early failure, always verify the IP rating is independently certified, not manufacturer-claimed.
Shock and Vibration Resistance for Long-Haul Travel
Constant road vibration can loosen internal components and degrade image quality over time. Units with rubberized internal dampening and strain-relief cabling maintain integrity on uneven terrain. Mounts should incorporate flexible grommets or spring-loaded brackets to absorb movement. Recognizing that long-distance travel amplifies mechanical stress, choose cameras designed specifically for heavy-duty vehicle applications.
Motorhomes encounter prolonged exposure to engine vibration, potholes, and highway expansion joints, all of which strain electronic components. Cameras built with solid-state construction-lacking moving parts like mechanical shutters or focus motors-are less prone to failure. Some models use potting compounds to encase circuit boards, preventing microfractures from repeated jolts. A mid-sized SaaS firm operating a fleet of motorhomes reported fewer service calls after switching to potted-unit cameras, citing improved uptime during cross-country routes.
How to Plan Your Installation Strategy
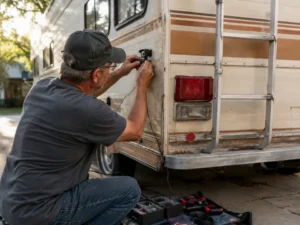
Mapping out your camera and monitor placement before purchasing equipment prevents costly mistakes and ensures optimal visibility. Consider your motorhome’s structure, existing wiring paths, and whether you’ll need professional help for drilling or electrical connections. A clear plan improves safety and reduces installation time.
Power Supply Requirements and Cabling Routes
Your backup camera typically draws power from the reverse light circuit, activating only when the vehicle shifts into reverse. Plan cabling routes that avoid sharp edges, heat sources, and moving parts to prevent damage. Use conduit where necessary and ensure connections are sealed against moisture, especially near the rear chassis.
Integrating Side-View and Rear-View Feeds
Combining side and rear camera views gives a comprehensive picture of your surroundings, reducing blind spots during lane changes and tight maneuvers. Synchronize feeds to display on a single monitor with split-screen capability, ensuring seamless transitions when turning or reversing.
Some motorhomes benefit from automated camera switching based on turn signal activation or gear position. For example, a mid-sized SaaS firm retrofitting a fleet of Class A coaches installed signal-triggered side cameras that activate when the turn indicator engages, providing real-time views of adjacent lanes. This integration enhances situational awareness without requiring manual input.
Expert Tips for Comparing Manufacturers
Look beyond marketing claims and assess each manufacturer’s reputation for reliability, image clarity, and real-world weather resistance. Compare how long companies have served the RV industry, whether they offer dedicated support for motorhome installations, and if their systems are used by reputable dealers. The
| Feature | What to Look For |
| Image Resolution | Minimum 720p; higher for larger motorhomes |
| Low-Light Performance | Cameras with wide dynamic range (WDR) |
| Mounting Options | Adjustable brackets for Class A rooflines |
| Signal Type | Wired systems for stability, wireless only if interference-tested |
Assessing Build Quality and Customer Support
Examine the housing material-die-cast aluminum or reinforced polymer resists vibration and UV damage. Reach out to customer service with a technical question; response time and clarity reveal more than online reviews. A manufacturer that provides installation diagrams and phone support stands behind their product.
Reviewing Warranty Coverage and System Compatibility
Check whether the warranty includes labor costs or just parts, and confirm it covers outdoor exposure. Ensure the camera output matches your monitor’s input, especially if integrating with existing dash electronics. The
Some brands offer limited warranties of just one year, while others extend coverage up to five years with proof of purchase. Extended protection is especially valuable if you frequently travel in extreme climates or rugged terrain. Confirm whether the warranty is voided by professional installation or third-party accessories, as this can limit your options. The
To wrap up
Choosing the right backup camera for your Class A motorhome means aligning the system’s range, resolution, and weather resistance with your driving patterns and vehicle layout. You need a clear, stable image at night and in rain, a monitor that fits your dashboard without obstructing view, and wiring that supports clean installation. A mid-sized SaaS firm upgraded their fleet with magnetic-mount cameras for easy service access, proving reliability matters as much as specs. You gain safety not just from technology, but from thoughtful integration.
FAQ
Q: What size monitor is best for a Class A motorhome backup camera system?
A: A 7 to 9-inch monitor typically provides the clearest visibility without obstructing the windshield or dashboard instruments in a Class A motorhome. Larger screens improve image detail, especially when reversing long overhangs or trailers, but must be mounted to avoid blocking critical sightlines. Some motorhome owners opt for dual monitors-one near the driver’s seat and another on the passenger side-allowing better visibility across wide blind spots. A mid-sized SaaS firm specializing in fleet telematics found that oversized monitors not integrated with existing dash contours led to increased driver distraction during routine maneuvers.
Q: Are wireless backup camera systems reliable for Class A motorhomes?
A: Wireless systems offer easier installation by eliminating long cable runs through the motorhome’s frame, but signal interference from onboard electronics or external sources can disrupt the video feed. Models using 5.8 GHz transmission tend to perform better than 2.4 GHz in minimizing lag and static, particularly in vehicles with metal bodies that reflect signals. One RV technician noted that a 2022 model year Fleetwood bound for the Pacific Coast experienced intermittent dropout with a budget wireless kit until switching to a shielded transmitter module. Hardwired systems remain the standard for consistent performance in large vehicles.
Q: How does night vision capability impact backup camera effectiveness?
A: Cameras with infrared (IR) LEDs allow clear imaging in low-light conditions, important for overnight stops at rest areas or backing into unlit campsites. High-end models include up to 30 feet of night vision range with minimal glare on wet surfaces. A Thor Industries RV owner reported successfully reversing into a narrow forested site at dusk using a camera with dynamic IR adjustment, avoiding contact with tree trunks less than 4 feet from the rear bumper. Look for models with anti-glare housings and automatic day/night mode switching to maintain image clarity in changing light.