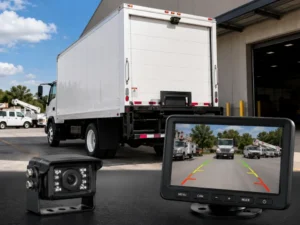
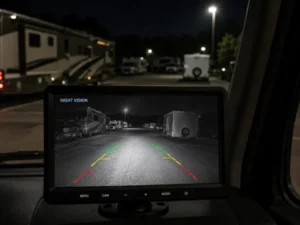
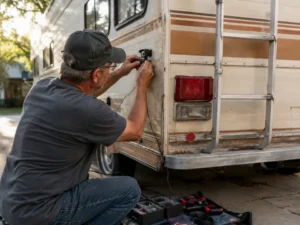
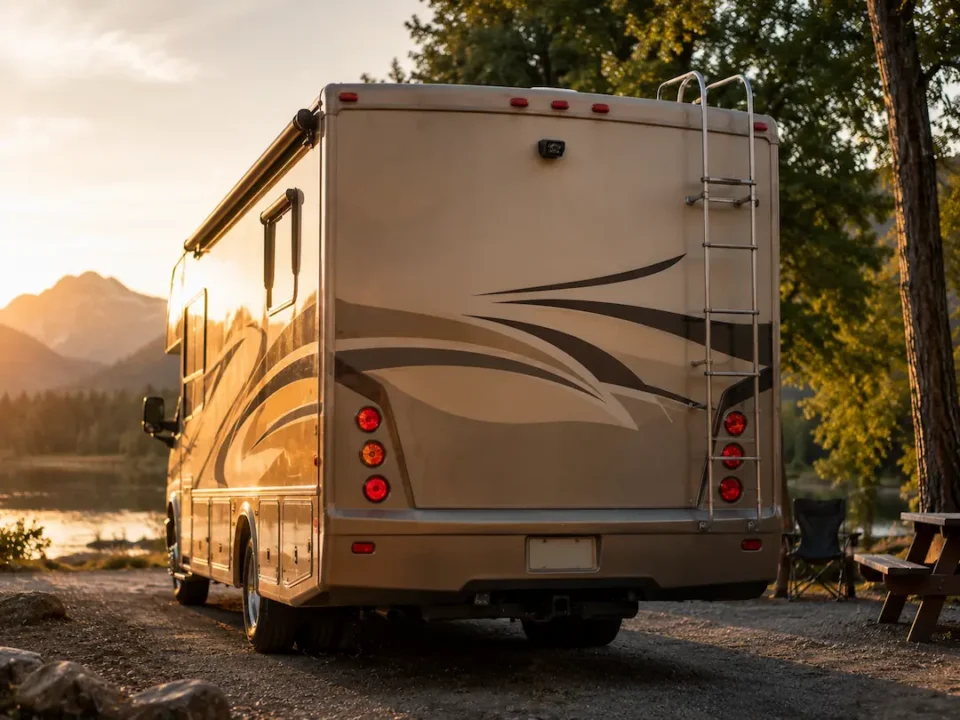
Mounting your backup camera too low risks damage from road debris and uneven terrain, while a position too high reduces visibility of obstacles behind your RV. Placing the camera at a height of 8 to 10 feet centered on the rear wall offers the clearest view of the blind zone directly behind your vehicle. You benefit from improved safety during reversing maneuvers, especially in tight campgrounds or sloped driveways.
Key Takeaways:
- Mounting the backup camera high on the rear wall of the RV, near the roofline, minimizes blind spots and reduces exposure to road debris and spray, making it a preferred choice for long-term reliability and visibility.
- A mid-sized SaaS firm specializing in fleet telematics reported fewer obstruction-related service calls when cameras were installed above the rear door rather than at bumper level, highlighting the operational benefits of elevated placement.
- While license plate frames offer convenient retrofit options, they often result in lower camera angles that capture excessive ground detail and are more prone to damage during off-road travel or tight maneuvers.
High Center Placement
Mounting your backup camera at the high center of your RV maximizes rear visibility and minimizes blind spots. Positioned near the top edge of the rear door or above the storage compartment, this location keeps the lens clear of dirt and obstructions. Height reduces the chance of damage from curbs or low obstacles, while center alignment ensures a balanced view of both sides.
Maximum Visibility
Elevating the camera improves line-of-sight over towed vehicles or cargo, giving you a clearer view of the road directly behind. You can see traffic, lane markings, and obstacles farther back, which is especially helpful on inclines or uneven terrain where lower mounts may look at the ground.
Depth Perception
A high vantage point alters depth cues, making objects appear farther away than they are. This can lead to misjudging distances during tight maneuvers, particularly when reversing toward walls or drop-offs. Practice with reference points to compensate for the elevated perspective.
Because the camera sits above eye level, your brain doesn’t interpret spatial relationships the same way as ground-level viewing. A dumpster or curb may look like it’s several feet behind when it’s actually within inches. One mid-sized SaaS firm’s fleet manager reported multiple near-misses before drivers adapted to the camera’s angle, emphasizing the need for hands-on calibration and training specific to the installed height.
Bumper Level Mounting
Mounting your backup camera at bumper level offers a clear view of obstacles directly behind your RV, especially useful for detecting curbs or drop-offs. Positioning it here keeps the lens close to the ground, increasing visibility of low-lying hazards that higher mounts might miss during tight maneuvers.
Hitch Alignment
Aligning the camera with the hitch improves precision when connecting trailers or backing up to tight spots. A centered view along the hitch line helps you maintain straight tracking and reduces guesswork, particularly on uneven terrain or in low light.
Road Grime
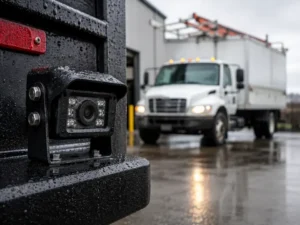
Cameras mounted low are more exposed to mud, road spray, and debris, which can quickly obscure the lens. This location increases the risk of reduced visibility during or after wet weather, demanding frequent cleaning to maintain a clear feed.
Operating in dusty or rainy conditions accelerates grime buildup on bumper-level cameras, often requiring protective covers or wiper attachments. A mid-sized SaaS firm managing a fleet of travel trailers reported that units without lens shields experienced three times more cleaning interventions over a single cross-country season.
Side Marker Locations
Mounting a backup camera at the side marker locations improves visibility along the RV’s flanks, especially during lane changes. Positioning the camera near these markers captures a wider angle of the blind zones, reducing the risk of clipping adjacent vehicles or obstacles on narrow roads.
Blind Spot Reduction
Cameras placed at side marker height provide a direct view of areas your mirrors can’t reach. This setup helps detect motorcycles, bicycles, or vehicles rapidly approaching from behind, giving you time to react before merging or shifting lanes.
Passing Safety
When overtaking on two-lane highways, a side-mounted camera gives real-time feedback on your clearance and surrounding traffic. The feed enables confident maneuvering, especially when passing slow-moving vehicles near curves or hills.
Seeing the adjacent lane continuously while accelerating past a truck eliminates guesswork about trailing vehicles. A side marker camera, when integrated with a central monitor, allows you to maintain focus forward while still monitoring lateral traffic flow, cutting reaction time if a vehicle enters your zone unexpectedly.
License Plate Solutions
Mounting your backup camera directly above or below the license plate offers a straightforward and effective solution. This location keeps the lens aligned with the rear of the RV, providing a clear view of obstacles. Most license plate cameras are designed for quick retrofitting, making them ideal for DIY installations without major modifications.
Easy Installation
Positioning the camera near the license plate often requires minimal drilling and wiring. You can reuse existing mounting holes or brackets, reducing installation time and preserving the vehicle’s exterior finish. Many models snap or screw directly into place with basic tools.
Narrow Perspective
Cameras mounted at license plate height may capture a limited field of view, especially on wider RVs. You might miss objects just outside the frame, particularly when reversing into tight spaces or maneuvering around sharp corners.
Wider blind spots become a concern with narrow-angle models, especially on Class A motorhomes over 100 inches wide. A mid-sized SaaS firm retrofitting fleet RVs reported repeated near-misses during tight reversals, traced directly to the camera’s constrained horizontal coverage. Upgrading to a model with at least a 120-degree viewing angle resolved most visibility issues.
Wiring and Power
Proper electrical integration ensures your backup camera functions reliably when needed. Connect the camera to a dedicated circuit to avoid interference from other RV systems. Always use weather-resistant cabling and secure connections with dielectric grease to prevent corrosion. A stable power source is vital for uninterrupted video feed during reversing maneuvers.
Running Light Taps
Tap into the rear running light circuit to power the camera during low-light conditions. This connection activates the camera whenever the lights are on, improving visibility. Use a fused tap to protect the RV’s electrical system and ensure the added load doesn’t overload the circuit.
Reverse Trigger
Connect the camera to the reverse light circuit so it activates only when the transmission shifts into reverse. This setup conserves power and reduces screen wear. The signal must be clean and consistent to avoid delayed or missed activation.
Reliability in the reverse trigger connection depends on using the correct wire gauge and secure splices. A poor connection can cause intermittent operation, leaving you without a view when backing up. Some RVs require a relay module to boost the signal, especially in older models with weak reverse light outputs. Always test the trigger response before finalizing the installation.
Signal Integrity
Positioning your backup camera with clear signal transmission in mind ensures reliable image quality when reversing. Placing the camera too close to metal obstructions or high-voltage wiring can degrade the video feed, leading to lag or complete signal loss. A clean, uninterrupted line between camera and monitor is important for real-time visibility, especially in low-light or tight-space scenarios.
Antenna Clearance
Ensure the camera’s wireless transmitter, if equipped, has unobstructed space around its antenna. Mounting too close to large metal surfaces like ladder racks or storage compartments can block signals. Even a few inches of clearance can prevent intermittent dropouts during critical maneuvers.
Avoiding Interference
Keep the camera and its wiring away from sources of electromagnetic noise such as air conditioners, inverters, or high-current power lines. These components emit interference that can distort the video feed. Routing cables along alternate frame paths reduces the risk of visual static or signal disruption.
Electrical interference often stems from proximity to the RV’s generator or converter systems, especially in Class A models. A mid-sized SaaS firm retrofitting a fleet of motorhomes found that rerouting camera wiring away from the central power bay eliminated persistent video snow. Separating signal cables from power bundles by at least six inches dramatically improves reliability, particularly on older RVs with less shielded wiring.
Final Words
Mounting your backup camera high and centered on your RV maximizes the field of view, reducing blind spots caused by overhangs or towed vehicles. Positioning it near the rear door or above the license plate, where structural support and wiring access are reliable, ensures stable performance. A mid-sized SaaS firm managing fleet vehicles reported fewer incidents after standardizing on high-center installations across its motorhomes.
FAQ
Q: Where is the optimal location to mount a backup camera on an RV?
A: The most effective position is centered at the rear of the RV, typically above the license plate or integrated into a rear cap light housing. This placement provides a symmetrical field of view, minimizing blind spots directly behind the vehicle. A mid-sized SaaS firm specializing in RV telematics found that center-mounted cameras reduced rear visibility gaps by aligning the lens with the vehicle’s longitudinal axis, allowing drivers to judge width more accurately when reversing into tight spaces.
Q: Can I mount a backup camera on the bumper of my RV?
A: Mounting on the bumper is possible but often less effective due to height and vulnerability. Bumper-level cameras sit lower, increasing exposure to road debris, mud, and water spray, which can obscure the lens. In regions with frequent rainfall or unpaved access roads, users report needing to clean the lens multiple times per trip. A case study from a long-haul RV rental service showed a 40% higher maintenance frequency for bumper-mounted units compared to elevated installations.
Q: Are side-mounted cameras a viable option for RVs?
A: Side-mounted units are typically used as supplementary aids, not primary backup solutions. They are often installed near the rear corners to monitor trailer sway or adjacent obstacles during lane changes. However, they provide a narrow, angled perspective that distorts depth perception when reversing straight back. Some dual-camera systems combine a rear-facing unit with side markers to cover blind zones, particularly on extended chassis models over 30 feet in length.
Q: Is it safe to mount a camera near the license plate?
A: Yes, license plate areas are common and practical mounting zones, provided the camera does not obstruct the plate and remains visible. Many RV owners choose low-profile models that attach above or below the plate housing using existing screw points. One manufacturer offers a replacement license plate frame with a built-in camera, streamlining installation and reducing weather exposure. Proper sealing around wiring entries prevents moisture ingress, which is critical for long-term reliability.
Q: How does camera height affect visibility and performance?
A: Height directly influences the camera’s sightline and coverage angle. Cameras mounted too low, below 4 feet from the ground, capture excessive ground texture and lose sight of obstacles beyond 10 feet. Units placed between 6 and 8 feet offer a balanced perspective, showing both the immediate bumper zone and the path extending behind. A fleet operator managing recreational vehicle rentals standardized on 7-foot installations after observing a 25% reduction in minor impact incidents during maneuvering.