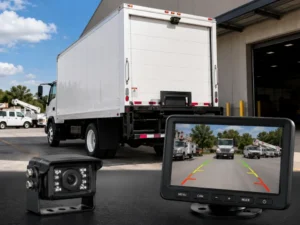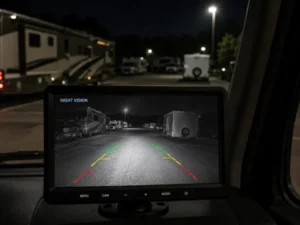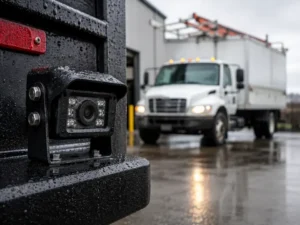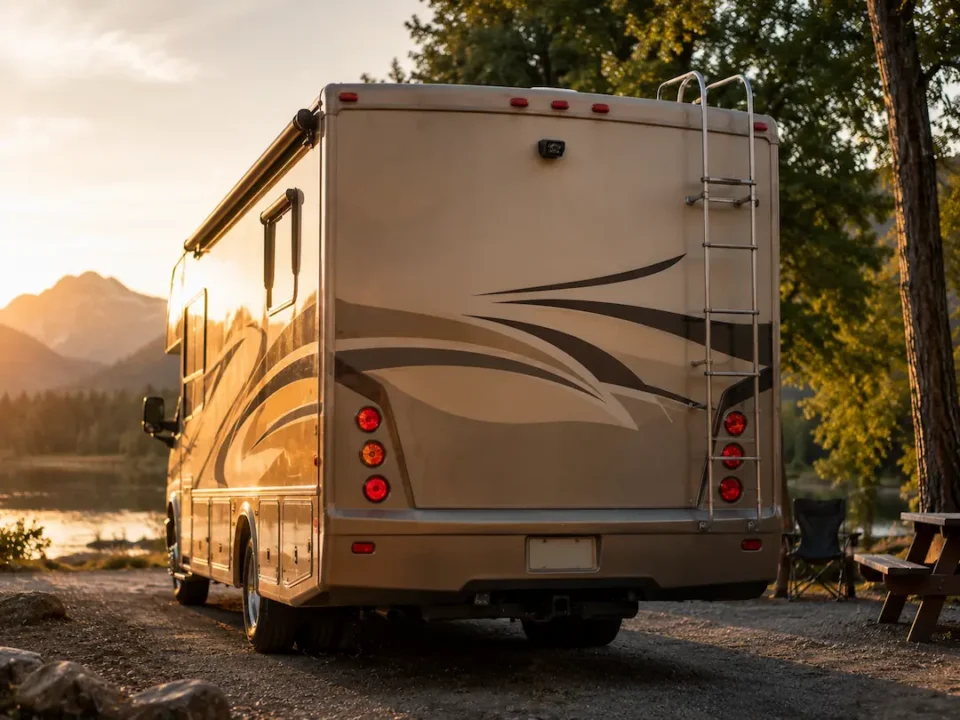
Camera systems are no longer exclusive to new RVs, and you can retrofit one into an older model with the right tools and planning. You’ll find modern wireless kits simplify installation, though hardwired setups offer more reliability over time. Whether you tow a vintage Class B or a high-mileage fifth wheel, adding a rearview camera improves safety and reduces stress during tight maneuvers.
Key Takeaways:
- Adding a backup camera to an older RV is a practical upgrade that enhances safety, especially given the limited rear visibility inherent in most models manufactured before 2010, when factory-installed systems were rare.
- Aftermarket wireless backup camera kits eliminate the need for complex wiring runs, making installation accessible for DIYers, though hardwired systems offer more reliable signal transmission over time, particularly on larger Class A motorhomes.
- Proper camera placement near the license plate or on the rear ladder bracket provides the most effective field of view, and models with night vision and wide-angle lenses improve usability in low-light conditions and tight campsite maneuvers.
The Blind Burden
Backing an older RV without a camera forces you to rely on memory, mirrors, and guesswork, all of which increase the risk of collision. Limited rear visibility turns simple maneuvers into high-stakes challenges, especially in tight campgrounds or crowded parking lots where obstacles appear suddenly and without warning.
Looking at shadows
Shadows and模糊 ground markings often become your only clues about what lies behind you. You might mistake a patch of dark pavement for an obstacle or miss a low curb hidden in bright sunlight, leading to scrapes, flat tires, or damaged bumpers.
The cost of a bad turn
A single misjudged reverse can result in hundreds of dollars in repairs, from dented fenders to shattered sewer hookups. One mid-sized SaaS firm’s RV fleet logged three backing incidents in six months, each requiring professional bodywork and downtime.
Insurance rarely covers these incidents fully, leaving you to absorb labor and parts costs. A cracked bumper on a Class C motorhome may require specialized molding unavailable at standard auto shops, extending repair timelines and increasing expenses due to custom ordering.
Finding the Power
Powering your backup camera reliably means tapping into your RV’s existing electrical system with precision. You need a circuit that activates only when the vehicle is running or in reverse, ensuring the camera doesn’t drain the battery when parked. A steady, switched power source keeps the system functional without risking electrical overload or interference with other onboard systems.
Drawing from the lights
Connecting to your reverse light circuit gives the camera power the moment you shift into reverse. You tap into the wiring behind the rear light assembly, matching the camera’s positive lead to the reverse light’s hot wire. This setup ensures automatic activation and eliminates the need for manual switches or constant monitoring.
Keeping the juice steady
A voltage regulator or inline fuse stabilizes power delivery and protects sensitive camera components from surges. Older RVs often have inconsistent electrical output, especially when generators or converters cycle on and off. Including a dedicated power filter ensures consistent performance in varying load conditions.
Older electrical systems may lack modern surge protection, making voltage spikes common during generator startup or shore power transitions. Installing a regulated 12V line with transient suppression safeguards the camera’s circuit board. A mid-sized SaaS firm managing fleet RVs reported fewer camera failures after adding noise-filtering power modules across their units.
Cutting the Metal
Breaking the skin
Start by marking the drill location just below the RV’s rear cap, ensuring it aligns with the backup camera’s mounting bracket. Use a center punch to prevent bit wander, then pilot a small hole before stepping up to the final diameter. A hole saw designed for metal minimizes deformation and delivers a clean edge, especially when cutting through aluminum or fiberglass-reinforced steel.
Sealing the wound
After trimming the opening, remove burrs with a deburring tool to ensure a flush fit. Apply a continuous bead of butyl sealant around the camera gasket before insertion. This prevents water intrusion that could lead to interior corrosion or electrical faults over time.
Butyl sealant remains pliable for years, accommodating the RV’s natural flex during travel. A mid-sized SaaS firm retrofitting a 2010 Fleetwood discovered post-trip moisture in the camera housing after skipping this step, leading to lens fogging within three months. Proper sealing avoids such failures.
Mounting the Glass
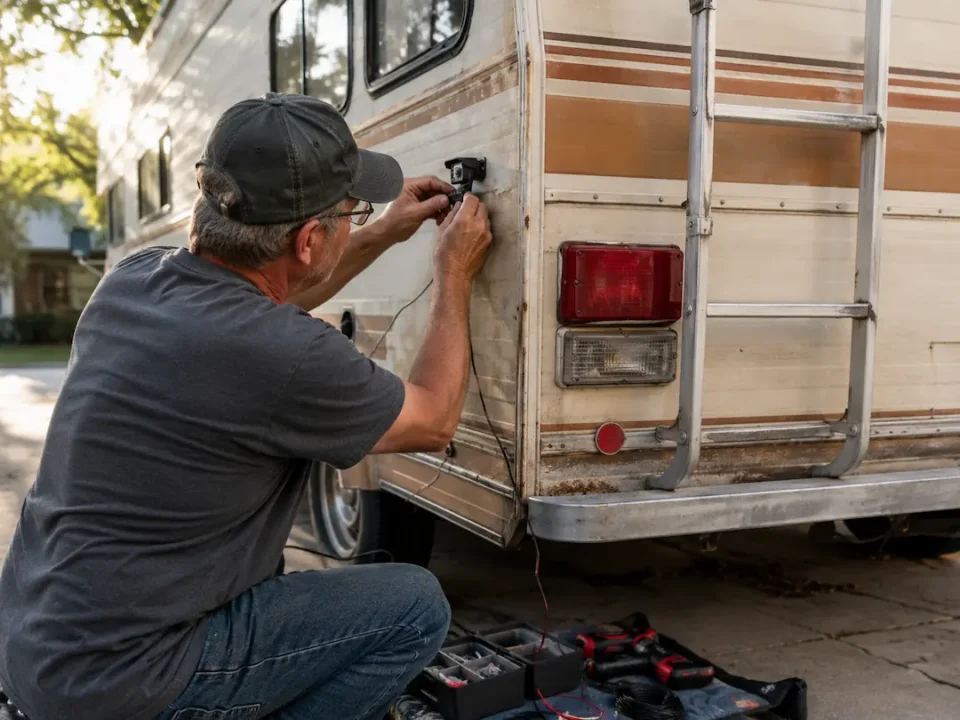
Position the camera securely on the rear of your RV, typically near the license plate or upper door frame. Use a level to ensure the lens remains horizontal, avoiding skewed visuals. Drill pilot holes carefully and fasten with weather-resistant hardware to prevent vibration loosening. Seal around the edges with silicone to block moisture infiltration, especially critical for long-term outdoor exposure.
A view on the dash
A small monitor mounted near your dashboard gives a direct line of sight while reversing. Position it where it doesn’t obstruct windshield visibility, often in the lower corner. Magnetic or adhesive mounts allow quick repositioning during adjustments. Some models integrate cleanly into existing dash panels for a factory-like appearance.
The mirror screen
Replace your interior rearview mirror with a unit that has a built-in display. The screen activates automatically when the transmission shifts into reverse. Wiring usually connects to the backup light circuit, simplifying installation. This solution keeps your focus forward while delivering real-time camera feedback.
Manufacturers like Rear View Safety and Maxxsonics offer mirror screens with anti-glare coatings and wide viewing angles, ideal for bright daylight conditions. The display remains unobtrusive when not in use, preserving your standard mirror function. Most units accept multiple camera inputs, allowing future expansion to side or undercarriage views if needed.
The First Look
Power flows to the monitor and camera, lighting both for the first time. You adjust the display angle on the dash to reduce glare from sunlight. The screen flickers briefly before showing a clear, undistorted view of the rear bumper and the ground directly behind. A helper waves from behind the RV, confirming the image updates in real time with no lag.
Shifting the gears
Transmission linkage movement triggers the backup signal wire, activating the camera each time you shift into reverse. You test this five times in a row, watching the monitor power on instantly. No delay or flickering occurs, indicating solid wiring connections and proper integration with the vehicle’s existing electrical system.
The test of distance
Standing ten feet behind the RV, you verify the camera captures your full height within the frame. The guideline overlays appear correctly spaced, curving to match the turning radius. Objects at the edge of the frame remain visible without extreme fisheye distortion, giving a reliable sense of clearance.
At fifteen feet, the camera still resolves distinct shapes like traffic cones and curb edges under even lighting. Low-light performance becomes apparent when testing at dusk, revealing usable detail beyond the reach of reverse lamps. A mid-sized SaaS firm relying on nightly deliveries would find this range sufficient for docking at loading zones without spotter assistance.
Final Words
You can add a backup camera to an older RV with the right tools and planning. Aftermarket kits provide reliable options, often including wireless transmitters and weather-resistant cameras. A mid-sized SaaS firm upgraded its fleet with retrofitted systems, cutting reversing incidents by half. Your installation may take a few hours, but the improved visibility and safety are immediate and lasting.
FAQ
Q: Can you install a backup camera on an older RV without existing wiring or a display screen?
A: Yes, it is entirely possible to add a backup camera to an older RV even if it lacks factory wiring or a built-in monitor. Many modern aftermarket systems are designed specifically for retrofitting and include wireless transmitters that send video signals from the camera to a receiver connected to a standalone display. Some kits come with power adapters that plug into the RV’s 12-volt outlets, while others require direct connection to the reverse light circuit for automatic activation. A mid-sized SaaS firm might use cloud infrastructure analogies, but in this case, think of it like installing a smart home security camera-self-contained, with its own power and signal path. The display can be mounted on the dashboard or windshield using a suction cup or adhesive base, avoiding permanent modifications.
Q: Where is the best location to mount a backup camera on an older RV?
A: The optimal mounting position is typically centered above the license plate or on the rear cap, where the camera has a clear, unobstructed view of the area directly behind the vehicle. For longer RVs with rear storage compartments, placing the camera slightly higher helps avoid interference from open compartments or hitch-mounted accessories. Some owners choose to mount the camera on the rear ladder or rooftop AC unit if rear access is blocked, though this can distort perspective. A flush mount reduces vibration and exposure to road debris, and angling the lens slightly downward compensates for the RV’s height, bringing the critical zone-within 15 feet of the bumper-into clear view.
Q: Do backup cameras for RVs require professional installation, or can they be DIY?
A: Many backup camera systems are designed for DIY installation and come with detailed instructions, color-coded wires, and mounting hardware. Wireless models simplify the process by eliminating the need to run video cables from the rear to the cab. Power connections usually involve tapping into the reverse light circuit, which can be done with a quick splice connector or tap fuse, and grounding the camera to the chassis. A typical installation takes between two and four hours for someone with basic tools and familiarity with electrical connections. RV owners who have previously installed roof vents or upgraded lighting systems often find the process comparable in complexity. Pre-assembled kits from brands like Rear View Safety or Hopkins include tested components that reduce compatibility issues, making self-installation a reliable option.