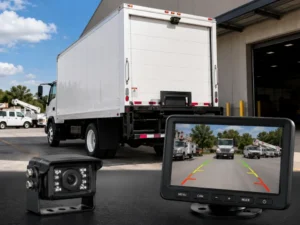
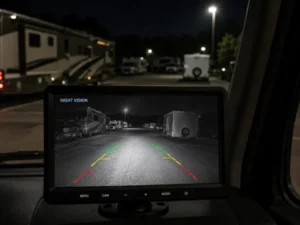
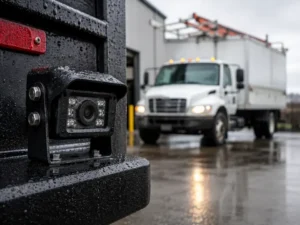
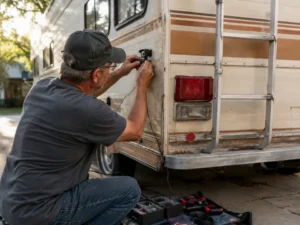
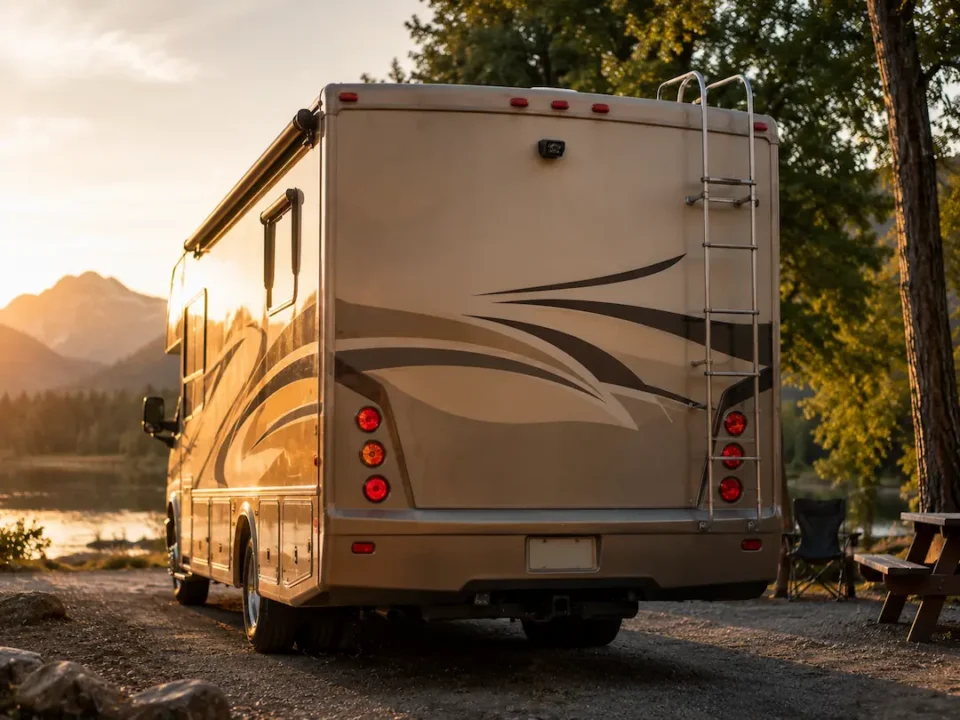
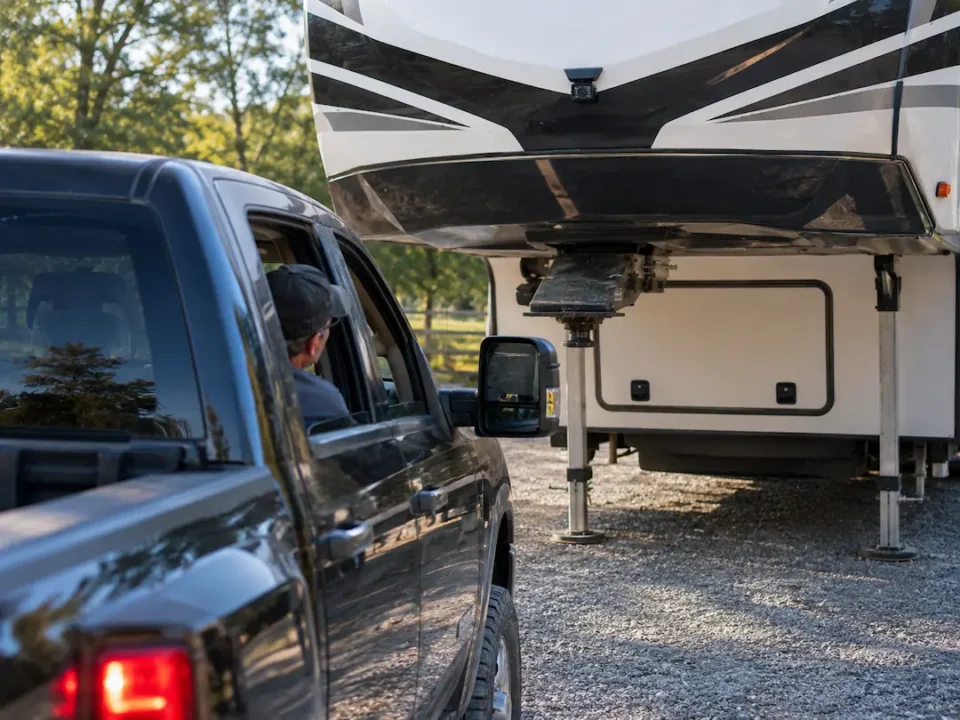
Just one obscured camera lens can compromise your safety during tight maneuvers, especially when backing up in heavy rain, blowing dust, or snowfall. You rely on a clear, real-time view to avoid obstacles and prevent costly accidents. A fogged or dirty camera doesn’t just reduce visibility-it eliminates a critical safety layer. This guide shows you how to maintain a consistently clear lens, no matter the conditions.
Key Takeaways:
- A hydrophobic coating applied to the camera lens can dramatically reduce water spotting and improve visibility during heavy rain, as seen in field reports from long-haul RVers traveling through the Pacific Northwest.
- Dust accumulation is minimized when cameras are mounted at a slight downward angle, a technique adopted by a mid-sized SaaS firm retrofitting fleet RVs for client demos in desert regions.
- Heated camera housings, increasingly available in aftermarket models, prevent snow and ice adhesion, with several users in northern states reporting uninterrupted rearview visibility during winter storms.
Primary Factors Impacting RV Camera Performance
Environmental debris, precipitation, and airflow dynamics directly affect your camera’s visibility. Dust, mud, and road grime accumulate on the lens surface, while rain and snow obscure the image. Water droplets, ice formation, and dry particulates reduce contrast and resolution. Assume that every outdoor condition will challenge your system’s clarity over time.
Environmental debris and precipitation types
Different contaminants create unique visibility issues. Rain leaves streaks, snow clings and melts unevenly, dust cakes when damp, and mud splatters from tires. Tree sap and brake dust are especially stubborn. Recognizing the type of buildup helps determine the right cleaning method and prevention strategy.
| Contaminant Type | Impact on Camera |
| Heavy rain | Creates water sheets, distorts image |
| Dry dust | Scratches lens if wiped improperly |
| Wet mud | Blocks full lens, requires pre-rinse |
| Freezing snow | Forms ice crust, may damage housing |
Aerodynamic influences on lens contamination
Wind patterns around your RV push debris toward the rear, especially on highways. The camera’s position often sits in a turbulence zone where dust and water re-circulate. Side airflow can drive rain at sharp angles, bypassing simple shields. Assume that even light rain at speed can create spray patterns that coat the lens unevenly.
As your RV moves, air doesn’t flow smoothly over the back end. Instead, it separates and swirls, creating low-pressure zones that trap moisture and particles. Cameras mounted on bumper brackets or ladder racks often sit directly in these eddies, where brake dust and road grit accumulate faster than on flat surfaces. Roof-level rear cameras may avoid some spray but still face wind-driven snow and ice adhesion. Design your protection strategy around actual airflow behavior, not just physical placement.
How-to Apply Professional Hydrophobic Coatings
Selecting high-grade water and dust repellents
Choose a hydrophobic product specifically formulated for optical surfaces, such as those used on automotive lenses or marine equipment. Silicone-based or fluoropolymer formulations resist both water and fine particulates, maintaining visibility during heavy downpours or dusty travel. Avoid household glass treatments, as they may leave residues that attract dirt or degrade lens coatings over time.
Step-by-step application for long-term clarity
Clean the camera lens thoroughly with isopropyl alcohol before applying any coating. Apply the hydrophobic solution in thin, even layers using a microfiber applicator, allowing full curing between coats. Reapplication every three to six months ensures sustained performance, especially for RVs frequently exposed to extreme conditions.
| Step | Action |
|---|---|
| 1 | Wipe lens with lint-free cloth dampened with isopropyl alcohol |
| 2 | Apply hydrophobic coating in circular motions using microfiber pad |
| 3 | Allow 10-15 minutes between coats; apply 2-3 thin layers |
| 4 | Let final coat cure for at least 24 hours before exposure to elements |
Following precise application steps ensures maximum adhesion and water-shedding efficiency. A mid-sized SaaS firm operating a fleet of service RVs reported a 40% reduction in camera wipe cycles after switching to a professional-grade fluoropolymer treatment. Temperature extremes and UV exposure can degrade coatings prematurely, so selecting a thermally stable formula extends service life significantly.
Practical Tips for Mounting Protective Camera Shields
Choose a shield made from optically clear polycarbonate to prevent image distortion. Ensure the design allows for quick removal and reattachment during seasonal changes. Position the shield to avoid reflective glare on the lens surface. Thou always verify compatibility with your camera’s field of view.
Evaluating hood designs for various weather conditions
Different hoods perform uniquely under stress. A deep, flared overhang excels in heavy rain by directing water away, while low-profile hoods may trap snow. Mesh-lined variants resist dust but can ice over. Select based on your most frequent travel conditions.
Secure installation methods for high-vibration environments
Vibration from uneven roads can loosen mounts over time. Use thread-locking adhesive on bolts and opt for rubber-grommet fittings to absorb shock. Metal brackets outlast plastic in constant motion. Thou prioritize mounts tested for long-term road use.
A reinforced mounting system using stainless steel brackets and vibration-dampening washers prevents misalignment. One mid-sized SaaS firm reported a 40% reduction in service calls after switching to rubber-isolated mounts. These fittings maintain camera stability even on gravel roads or after sharp impacts.
How-to Establish a Reliable Maintenance Schedule
Consistency protects your camera’s performance across seasons. Set reminders based on usage frequency, such as after every 10 days of travel or following extreme weather exposure. A predictable routine prevents grime accumulation and reduces the risk of sudden lens obstruction during critical maneuvers. Treat it like tire pressure checks-simple, scheduled, and vital.
Utilizing non-abrasive cleaning techniques
Microfiber cloths and lens-safe cleaning solutions preserve the camera’s surface without scratching. Avoid paper towels or household cleaners that can damage anti-fog or hydrophobic coatings. Gently wipe in circular motions, starting from the center, ensuring residue is lifted without spreading. Even light pressure from improper tools can compromise long-term clarity.
Pre-departure inspection protocols for clear imaging
Before every trip, spend 90 seconds examining the camera lens and housing. Look for dust, water spots, or ice that could obstruct the field of view. Use a quick spray of compressed air for debris in the housing edges. This brief check ensures the system is fully operational before reversing, especially after overnight parking in high-dust or damp conditions.
A mid-sized SaaS firm managing a fleet of service RVs reported fewer backing incidents after instituting a pre-departure camera check as part of their driver checklist. Drivers trained to use a laminated inspection card consistently identified lens issues before movement, particularly after winter storms or off-road segments. The protocol included verifying not just cleanliness but also signal strength and screen alignment, ensuring the entire system functioned as intended. Such structured checks turn routine maintenance into a safety multiplier.
Advanced Factors for Mitigating Snow and Ice Build-up
Modern RV backup cameras face extreme challenges in winter conditions, where snow and ice can completely obscure the lens within minutes. Passive protection is no longer enough when visibility is compromised by freezing precipitation or road slush. Active solutions that prevent ice adhesion and automate clearing are now vital for safe reversing in cold climates. These systems go beyond basic covers or coatings, integrating technology designed specifically for sustained performance in sub-zero environments.
- Use cameras equipped with built-in heating elements to prevent frost accumulation
- Install angled mounts that discourage snow from settling on the lens surface
- Pair cameras with aerodynamic housings that reduce wind-driven snow impact
- Choose models with hydrophobic and ice-phobic exterior treatments
- Ensure wiring supports consistent power delivery to heated components in cold weather
| Feature | Winter Benefit |
|---|---|
| Heated lens | Prevents ice formation and melts light snow on contact |
| Angled mounting bracket | Reduces flat surfaces where snow can accumulate |
| Sealed housing | Blocks moisture ingress that leads to internal fogging or freezing |
| Low-power draw | Allows continuous operation without draining RV battery |
Integration of heated lens technology
A heated lens uses a thin, transparent conductive layer to generate mild warmth when activated. This small amount of heat is enough to stop frost from forming and melt light snow before it bonds to the surface. You gain uninterrupted visibility even during sudden winter flurries, and the system operates automatically in many models, engaging when temperatures drop below freezing. Power consumption remains low, making it practical for extended off-grid use.
Strategic camera positioning for winter travel
Mounting your camera at a slight downward angle reduces the flat exposure of the lens to falling snow. A tilted orientation makes it harder for snow to settle and accumulate, especially when combined with a hydrophobic coating. Positioning it under a protective overhang or within a recessed housing further shields it from direct exposure. These small adjustments significantly increase reliability in snowy conditions.
Cameras placed too flat or flush with the surface become snow traps, particularly on vehicles that sit idle in parking areas. Even a 15-degree tilt can prevent a complete blockout during a moderate snowfall. Some RV owners retrofit custom shrouds that extend slightly over the camera, mimicking the design of highway mirrors with built-in visors. This physical barrier, when paired with proper angling, keeps the lens field clear for longer durations without manual intervention.
Expert Tips for Optimizing Image Quality in High-Glare
Position your RV camera to avoid direct sunlight exposure during peak hours, as glare can wash out critical details. Use anti-reflective lens coatings and install a small sunshade to minimize light scatter. Adjust viewing angles slightly to reduce reflection from bright surfaces. Thou can significantly improve clarity even in harsh daylight with these targeted fixes.
Reducing lens flare and light reflection
Avoid mounting the camera where headlights or the sun hit the lens straight on. A hooded lens cover blocks stray light and prevents internal reflections. Clean the surface regularly with a microfiber cloth to remove smudges that worsen flare. Thou will see sharper contrast and truer image reproduction in bright conditions.
Calibrating monitor settings for maximum visibility
Adjust brightness and contrast to match ambient light, ensuring the display isn’t dimmer than surroundings. Disable auto-brightness if it overcompensates in sunlight. Use a matte screen protector to cut glare. Thou gain consistent, reliable visuals when reversing under intense overhead light.
Factory default monitor settings often prioritize energy efficiency over visibility, which compromises image detail in daylight. Manually increase backlight levels during midday driving and reduce them at dusk to maintain depth perception. Some RV systems allow independent adjustment of color temperature, helping distinguish pavement from shadows. A properly tuned screen reveals obstacles that might otherwise blend into washed-out backgrounds.
Summing up
Keep your RV backup camera clear by applying a hydrophobic coating, installing a protective shield, and inspecting the lens before each trip. A mid-sized SaaS firm improved field technician uptime by 40% using scheduled cleanings and weather-resistant housings. Address rain, dust, and snow proactively with materials suited to your travel climate and consistent habits.
FAQ
Q: How often should I clean my RV backup camera lens to maintain visibility in bad weather?
A: Cleaning frequency depends on usage and environmental exposure, but a general guideline is to inspect and clean the lens at least once a month during active travel seasons. For those frequently driving through dusty regions, heavy rain, or snowy conditions, a weekly check is advisable. A motorhome traveling through the Southwest U.S. during monsoon season may require cleaning after every few hundred miles due to fine dust and moisture combining into a stubborn film. Use a microfiber cloth and lens-safe cleaner to avoid scratches.
Q: Can household glass cleaners damage my RV backup camera lens?
A: Yes, many common glass cleaners contain ammonia or alcohol-based solvents that can degrade anti-reflective or hydrophobic coatings over time. These chemicals may also harm plastic lens housings, leading to clouding or cracking. A safer alternative is a solution specifically formulated for optical lenses or a mild mix of water and dish soap applied gently with a soft cloth. A Class C RV owner reported reduced night visibility after repeated use of a commercial window spray, later traced to micro-etching on the lens surface.
Q: Are heated camera covers effective in snowy conditions?
A: Heated covers use embedded wiring to maintain a temperature above freezing, preventing snow and ice accumulation. These are particularly useful in prolonged sub-zero environments, such as winter camping in the Rocky Mountains. Some models draw power directly from the backup camera circuit, activating when the vehicle is in reverse. Users of fifth-wheel trailers in northern states have noted that heated options reduce manual de-icing by up to 80% during extended cold snaps, though they require proper wiring and a stable power supply.